Follow Me On Social Media!
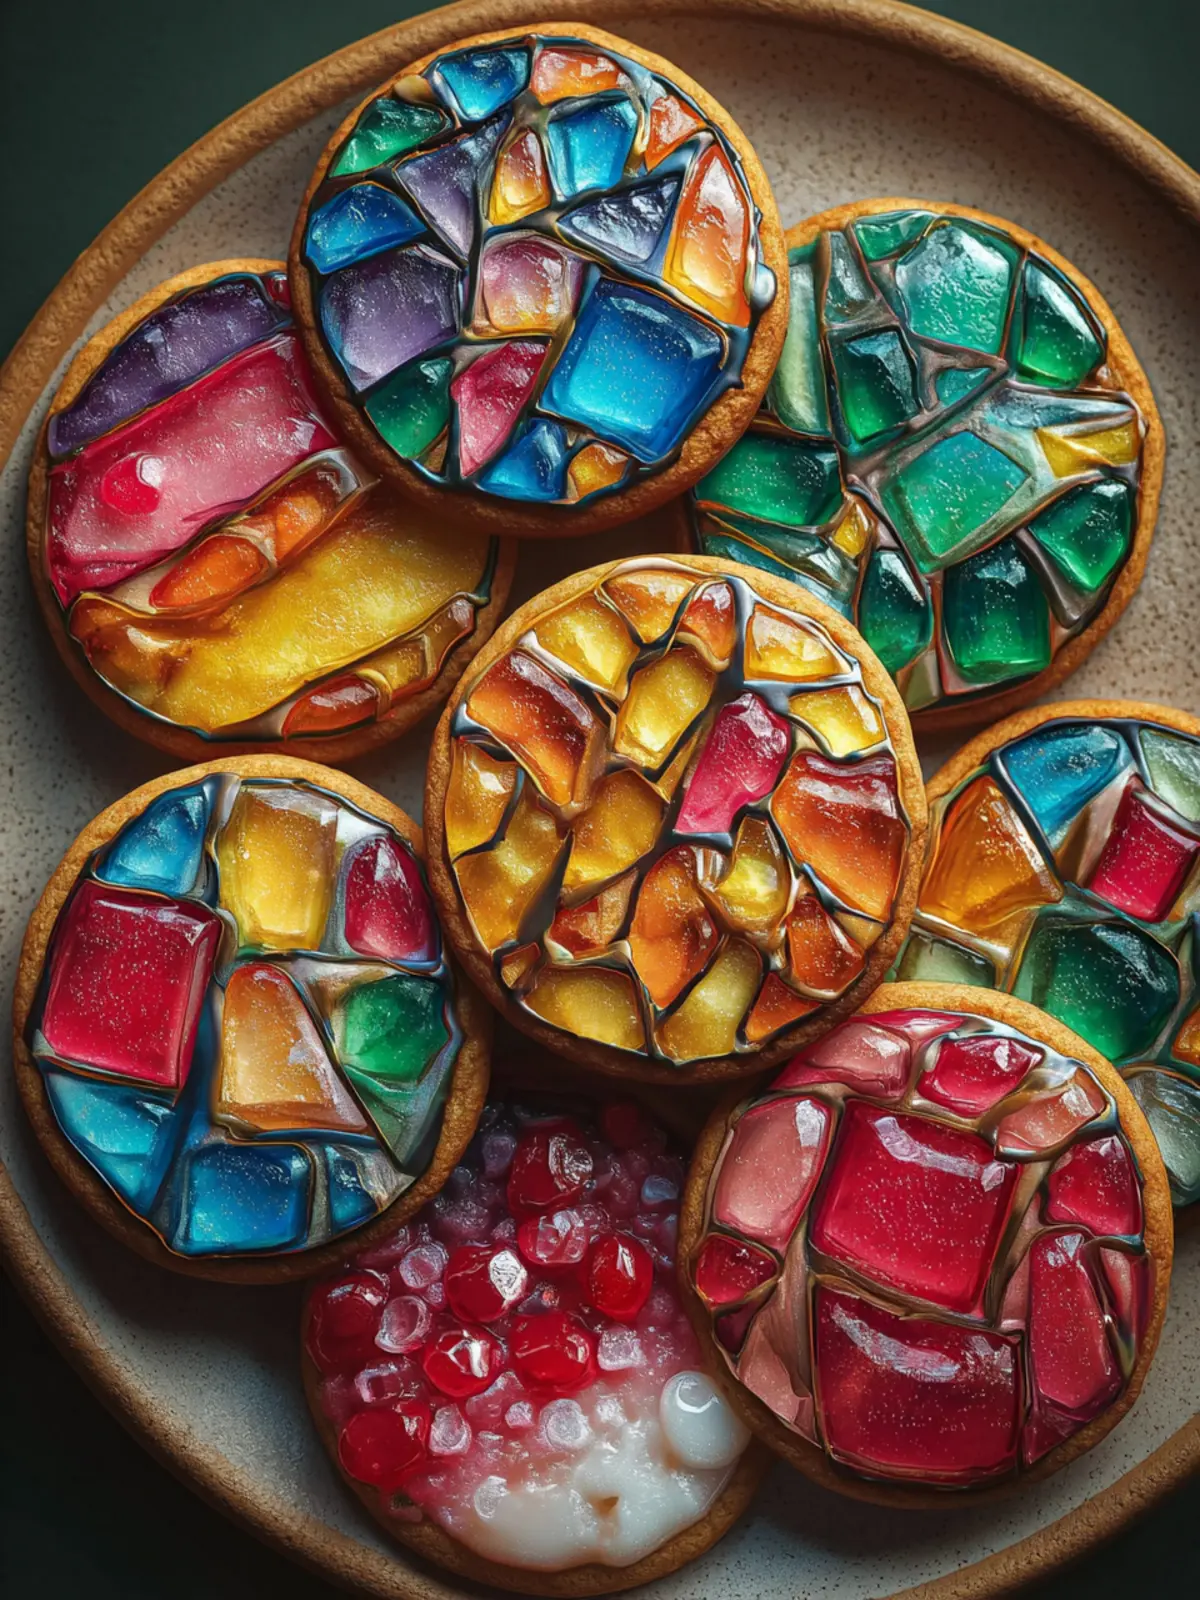
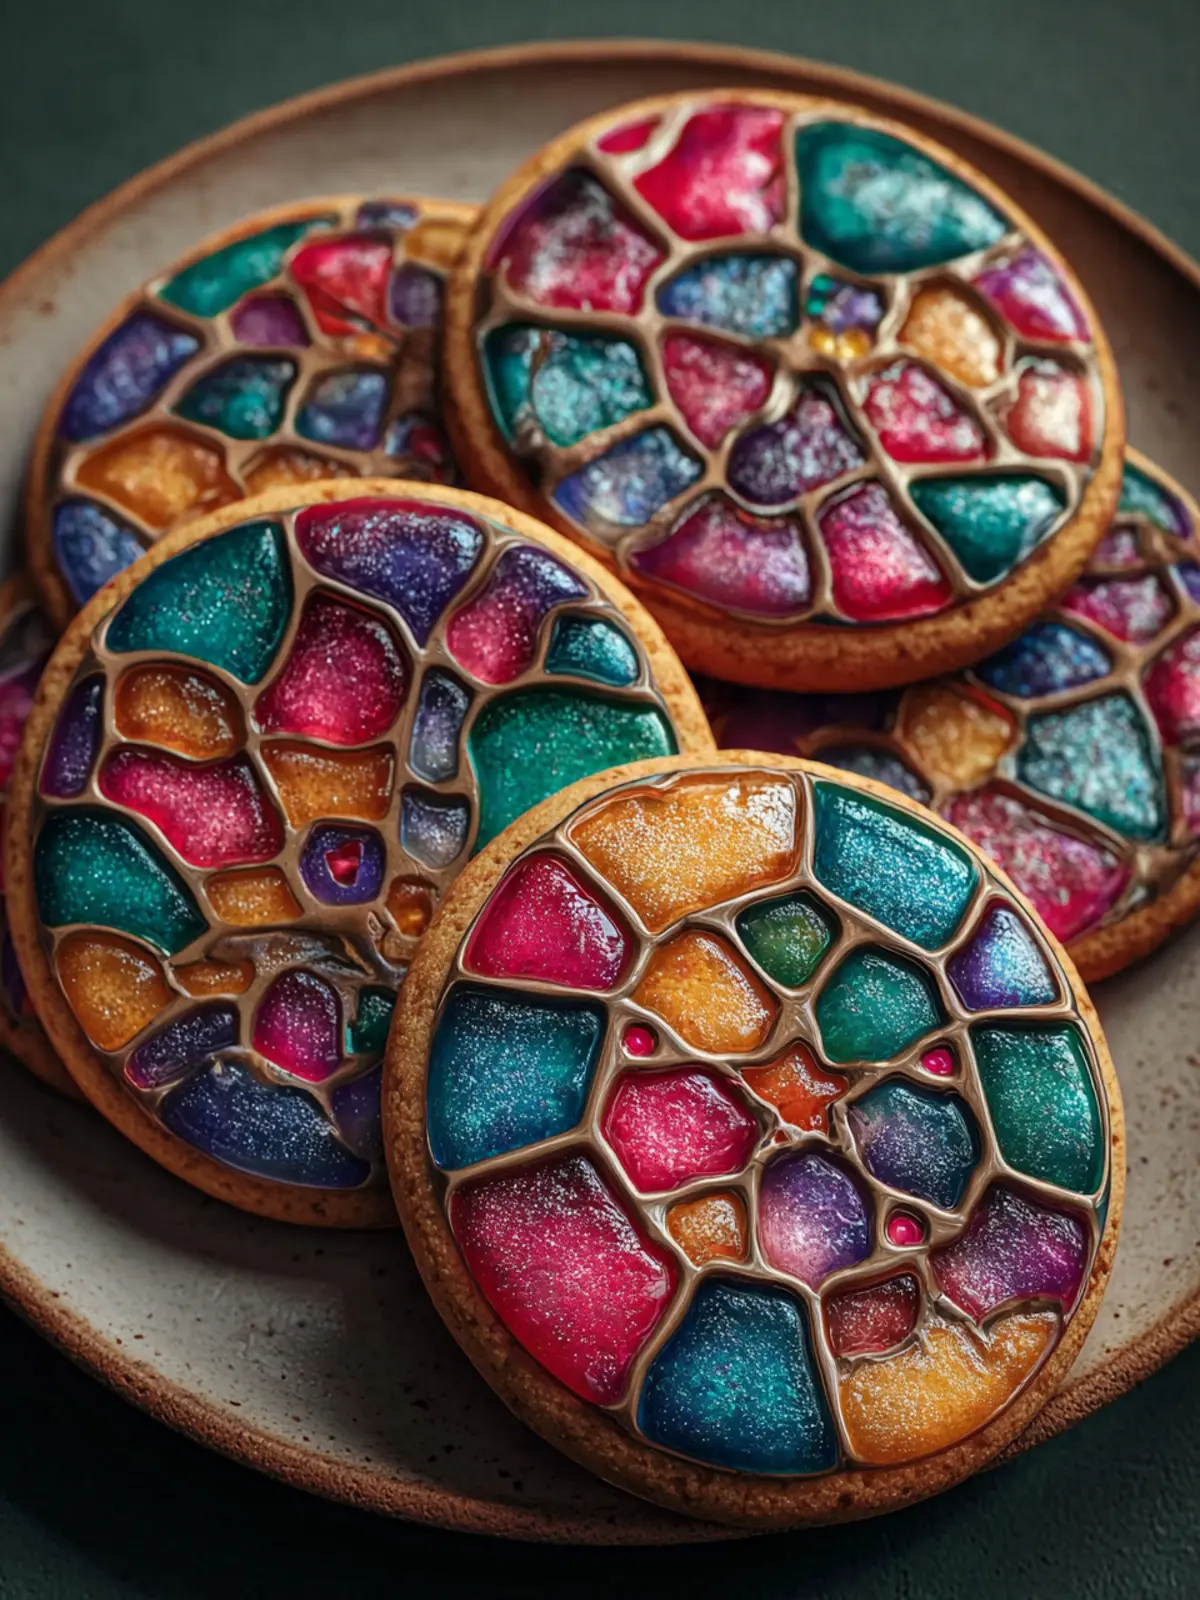
Stained Glass Cookies: Irresistibly Colorful and Fun to Make
Introduction to Stained Glass Cookies
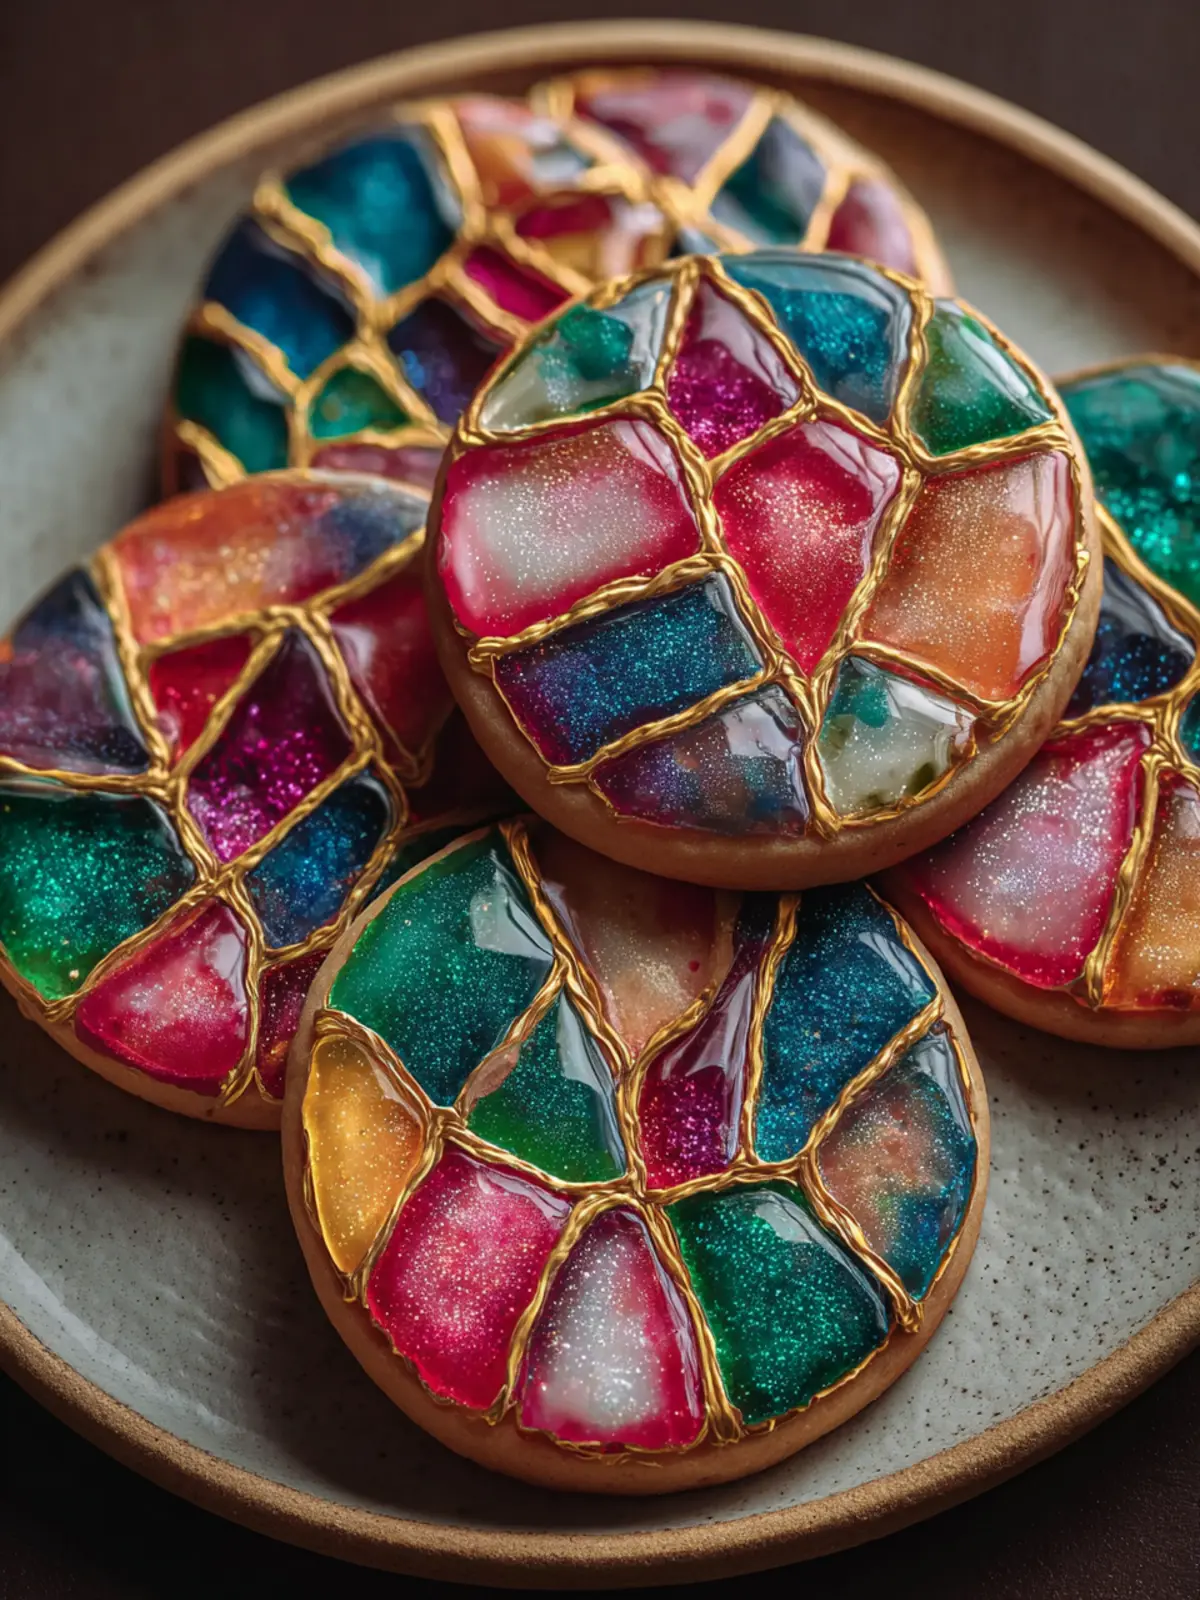
Stained glass cookies are not just a treat; they’re an edible work of art. The mesmerizing combination of dough and colorful candies creates cookies that mirror the beauty of stained glass windows found in historic cathedrals. As we gather to celebrate holidays, birthdays, or just a cozy evening with friends, these delightful cookies bring an extra sparkle to the occasion. Picture this: the kids bursting with excitement as they watch the vibrant colors melt into beautiful shapes while baking—there’s truly something magical about it.
What sets stained glass cookies apart is their unique ability to connect us through shared moments in the kitchen. Whether you’re a novice baker or a seasoned pro, crafting these cookies is an engaging experience that brings friends and families together. Imagine the laughter and joy filling the air as you roll out the dough, cut out shapes, and watch the colorful candy transform into windows of sweetness. Plus, they make for stunning gifts, neatly wrapped in a clear bag with a festive ribbon, reminding us all that the best memories are often edible.
Why Stained Glass Cookies Bring Joy to Any Occasion
There’s something inherently joyful about the act of baking, and adding stained glass cookies to the mix multiplies that happiness. The vibrant colors of the melted candy not only delight children but also enchant adults, making them a hit at any gathering. For festive occasions, from Christmas to Halloween, these cookies can be shaped to match the theme, lending a personal touch that goes beyond typical treats.
- Visual Appeal: The shimmering, colorful centers of stained glass cookies are like tiny windows of joy. They’ve been known to capture hearts and imaginations alike.
- Creativity: Each batch allows for endless creativity—experimenting with different cookie cutters or various colored candies offers a chance for self-expression in the kitchen.
- Shared Experiences: Baking stained glass cookies often turns into a delightful social experience, bringing people from all walks of life together in a warm, inviting atmosphere.
So, whether you’re planning a holiday party, a gathering with friends, or simply want to add a bit of magic to your week, these stained glass cookies are sure to evoke smiles and memories that last a lifetime.
Key Ingredients for Stained Glass Cookies
Creating stained glass cookies is a delightful experience that not only brings out your inner baker but also transforms your kitchen into a vibrant art studio. The choice of ingredients plays a crucial role in achieving those stunning, colorful windows in each cookie.
-
Flour: I use all-purpose flour to form the base of these cookies. For those needing a gluten-free option, a 1:1 gluten-free blend can work wonders without compromising texture.
-
Butter: Unsalted butter is essential for adding richness. Make sure it’s room temperature so it creams nicely with the sugar, resulting in a soft and chewy cookie.
-
Sugar: Granulated sugar sweetens the dough, while powdered sugar plays a key role in the icing. A touch of sweetness elevates the flavor, making these cookies a favorite for all ages.
-
Eggs: The binding ingredient! One egg adds structure and helps the cookies hold their shape during baking.
-
Cornstarch: For that melt-in-your-mouth softness, I always include cornstarch in the mix. It lightens up the dough beautifully.
-
Hard Candies: The pièce de résistance of stained glass cookies. I recommend using assorted colors to create a visually appealing effect that will catch everyone’s eye.
With these ingredients in hand, you’re all set to create dazzling stained glass cookies that not only taste fantastic but are also a feast for the eyes.
Why You’ll Love These Stained Glass Cookies
Imagine a warm, cheerful kitchen filled with the fragrance of freshly baked goods, where every crunch reveals a burst of vibrant color. That’s exactly the experience you’ll have with stained glass cookies. These delightful treats combine the nostalgia of childhood baking with a captivating twist that makes them perfect for any occasion.
A Visual Treat
The enchanting stained glass effect is created by melting colorful hard candies within the cookie dough, producing beautiful designs reminiscent of actual stained glass windows. Each bite is a delightful surprise, as the combined flavors of buttery cookie and fruity candy create a heavenly taste experience. Not only do they taste amazing, but they also look stunning on any dessert table, making them a fantastic centerpiece for gatherings.
Perfect for Any Occasion
Whether you’re celebrating the holidays or hosting a weekend get-together, these cookies elevate your dessert game. They are quick to make, which means you can whip them up and still have time to enjoy the party. Plus, the creativity involved in choosing candy colors allows for personalization—your imagination is the limit!
A Fun Activity
Baking stained glass cookies is not just about the end product; it’s an opportunity to make memories, whether baking with family or impressing friends at a gathering. It’s perfect for inviting others to participate and share laughter over cookie shapes and colors.
In short, once you make stained glass cookies, they’re sure to become a beloved recipe that you’ll return to time and again.
Variations on Stained Glass Cookies
Flavor Twists
Stained glass cookies are a canvas for creativity. While the classic flavor is undeniably delightful, why not spice things up? For a twist, consider incorporating various extracts and spices that can elevate your stained glass cookies.
- Citrus Zest: A bit of lemon or orange zest can add freshness that pairs beautifully with the sweet candy centers.
- Spices: Cinnamon or ginger can provide a warm kick, making these cookies perfect for the holiday season.
- Chocolate: Instead of vanilla, you can opt for cocoa powder or chocolate extract for a rich, decadent flavor.
- Nut Flavors: Almond extract introduces a lovely nuttiness that beautifully complements the sweetness.
These flavors not only enhance the cookie but also create intriguing combinations with the vibrant candy fillings.
Cookie Shapes
Sure, these cookies are known for their stained glass appearance, but there’s no rule that says they must be traditional! Shaping your stained glass cookies into unique forms can make your baking even more enjoyable.
- Festive Shapes: Use holiday-themed cookie cutters, like stars or trees, to match the occasion.
- Geometric Designs: Think outside the box! Hearts, circles, or even abstract shapes can add a modern flair.
- Layered Cookies: Stack smaller cookies within larger ones for interesting textures when you bite into them.
Personalizing the shapes not only amps up the visual appeal but can also turn these cookies into memorable treats for parties or family gatherings.
Experimenting with flavors and shapes is just part of the joy in baking stained glass cookies. So, grab your cookie cutters and get creative!
Cooking Tips and Notes for Stained Glass Cookies
Creating stained glass cookies is a delightful experience, and a few simple tips can elevate them to the next level.
Common mistakes to avoid
Navigating the world of baking can be tricky, and when it comes to making stained glass cookies, here are some common pitfalls:
- Incorrect dough thickness: Roll the cookie dough too thin, and your cookies might break or become overly crisp. Aim for about ¼ inch thick.
- Overbaking: Keep a close eye on your cookies; they should be slightly soft when you pull them from the oven. They’ll continue to firm up as they cool.
- Not chilling the dough: If you skip chilling the dough, the cookies may spread too much during baking. Chill them for at least an hour for better results.
Storage tips
Once you’ve made your beautiful stained glass cookies, you’ll want to store them properly to maintain their freshness:
- Room Temperature: Keep your cookies in an airtight container to keep them chewy and vibrant for up to a week.
- Freezing: If you want to bake ahead, freeze the unbaked cookies. Just shape them and pop them into the freezer. Bake from frozen, adding a minute or two to the baking time.
By avoiding common mistakes and following smart storage tips, you’ll create breathtaking cookies that are sure to impress!
Serving Suggestions for Stained Glass Cookies
Stained glass cookies are a delightful treat that can brighten any gathering with their vibrant colors and beautiful designs. Whether you’re hosting a holiday party or simply want a creative baking project, these cookies are sure to impress.
Pairing Ideas
To complement your stained glass cookies, consider pairing them with:
- Tea or Coffee: The sweetness of the cookies contrasts perfectly with a warm cup of Earl Grey or a robust dark roast.
- Milk: A classic choice! The creamy texture balances the crunch of the cookies.
- Fruit Compote: Serve your cookies alongside a spoonful of fresh fruit or berry compote for a refreshing twist.
Presentation Tips
Elevate your presentation game with these simple ideas:
- Colorful Platters: Use bright platters or cake stands that match the hues of your cookies to enhance their visual appeal.
- Clear Cellophane Bags: Individually wrap each cookie in a clear bag tied with a ribbon for gifts or party favors.
- Display in Layers: Stack cookies in a tiered cake stand; this creates drama and showcases the beautiful stained glass effects.
By incorporating these serving suggestions, your stained glass cookies will be ready to shine brightly at any occasion!
Time Breakdown for Stained Glass Cookies
Creating delightful stained glass cookies is an enjoyable endeavor that rewards your efforts with a stunning treat. Here’s how your time will be divided when making these sweet masterpieces.
Preparation time
You’ll need about 30 minutes to gather your ingredients and prepare the dough. This step includes rolling it out and cutting the shapes, as well as placing the hard candies in the center to create that beautiful stained glass effect.
Baking time
The baking process takes about 8–10 minutes. Keep an eye on them as they cook; you’ll want to pull them out just as they begin to brown around the edges.
Total time
In total, expect to spend around 40 minutes from start to finish. This makes it a perfect activity for a weekend baking session or a cozy afternoon with friends.
Nutritional Facts for Stained Glass Cookies
When it comes to delightful treats that catch the eye and the taste buds, stained glass cookies hold a special place. Each colorful bite brings both joy and a bit of indulgence.
Calories
A single stained glass cookie typically contains around 120 calories. This is perfect for a sweet treat without overwhelming your daily calorie intake.
Sugar Content
With about 10 grams of sugar per cookie, these cookies offer a delightful sweetness. The sugar not only enhances the flavor but also contributes to their beautiful, shiny appearance.
Dietary Information
These cookies are vegetarian-friendly and can be adapted for various dietary preferences. If you’re looking to make a gluten-free version, simply substitute regular flour with a gluten-free blend, allowing everyone to savor their colorful charm.
FAQs about Stained Glass Cookies
Stained glass cookies are not just a delightful treat but also a beautiful craft project. As they adorn our holiday celebrations and family gatherings, questions often arise about perfecting these colorful confections. Here are some frequently asked questions that can help you achieve stained glass cookie success.
How can I ensure my stained glass cookies are soft?
To keep your cookies delightfully soft, it’s essential to avoid overbaking. Aim to remove them from the oven when the edges are just barely golden but the center still looks slightly undercooked. The cookies will continue to firm up as they cool. Additionally, consider adding a touch of corn syrup to your dough; this can help retain moisture. Using brown sugar instead of granulated sugar will also contribute to a softer texture.
What do I do if the candy doesn’t melt perfectly?
It’s not uncommon for the candy in your stained glass cookies to not melt as evenly as you’d like. If this happens, once the cookies have cooled, you can carefully use a knife to trim away any hard edges of candy for a smoother finish. If you find that the candy has expanded too much, gently pressing it down with the back of a spoon can help reshape it while it’s still warm.
Can I use different shapes or flavors?
Absolutely! One of the joys of making stained glass cookies is the ability to customize them. From festive holiday shapes like stars and trees to more unique designs like animals or hearts, the sky’s the limit. Flavor-wise, feel free to experiment with different extracts or add-ins such as lemon zest or almond extract to create a variety of delightful tastes. Just remember to adjust the candy colors to match the fun shapes you choose!
Conclusion on Stained Glass Cookies
Crafting stained glass cookies is an enjoyable way to bring a splash of color and creativity to your baking. The vibrant, fruity candy inside these cookies not only delights the eyes but also adds a lovely burst of flavor. By following the simple steps outlined, you can easily replicate this festive treat for parties or cozy gatherings. Remember, the key to success is to ensure the sugar cookie dough is chilled adequately, allowing for that perfect shape and texture. So gather your loved ones, decorate together, and create memories as sweet as these delicious cookies!
Print
Window Cookies
- Total Time: 1 hour
- Yield: 24 cookies 1x
- Diet: Vegetarian
Description
Delicious window cookies filled with crushed hard candies, perfect for festive occasions.
Ingredients
Scale
- 1 cup unsalted butter, softened
- 1 cup granulated sugar
- 1 large egg
- 1 teaspoon vanilla extract
- 2 1/2 cups all-purpose flour
- 1 teaspoon baking powder
- 1/2 teaspoon salt
- 1 1/2 cups crushed hard candies (such as Jolly Ranchers, in assorted colors)
- Optional: food coloring for dough
Instructions
- Start by preheating your oven to 350°F (175°C). Line two baking sheets with parchment paper and set them aside.
- In a large mixing bowl, cream together the softened butter and granulated sugar until the mixture is light and fluffy. This should take about 3-5 minutes with an electric mixer on medium speed.
- Beat in the egg and vanilla extract, mixing until well combined.
- In a separate bowl, whisk together the all-purpose flour, baking powder, and salt. Gradually add the dry ingredients to the wet ingredients, mixing on low speed until just combined. Do not overmix.
- If desired, divide the dough into portions and add a few drops of food coloring to each portion, kneading the color in until evenly mixed.
- Chill the dough in the refrigerator for about 30 minutes to make it easier to roll out.
- Once chilled, roll out the dough on a generously floured surface to about 1/4-inch thickness. Use cookie cutters in various shapes to cut out cookies.
- Use a smaller cookie cutter or the end of a piping tip to cut out the center of each cookie, creating a window effect.
- Place the cookies onto the prepared baking sheets, leaving some space between each one.
- Place crushed hard candies into the center of each cookie, filling the cut-out spaces.
- Bake in the preheated oven for about 8-10 minutes, or until the edges are lightly golden and the candies have melted.
- Allow cookies to cool on the baking sheets for a few minutes before transferring them to wire racks to cool completely. The hard candy will harden as they cool.
Notes
- Chilling the dough helps to keep the cookies from spreading too much during baking.
- Feel free to experiment with different cookie cutter shapes for various occasions.
- Prep Time: 30 minutes
- Cook Time: 10 minutes
- Category: Dessert
- Method: Baking
- Cuisine: American
Nutrition
- Serving Size: 1 cookie
- Calories: 120
- Sugar: 10g
- Sodium: 50mg
- Fat: 6g
- Saturated Fat: 4g
- Unsaturated Fat: 1g
- Trans Fat: 0g
- Carbohydrates: 15g
- Fiber: 0g
- Protein: 1g
- Cholesterol: 30mg